
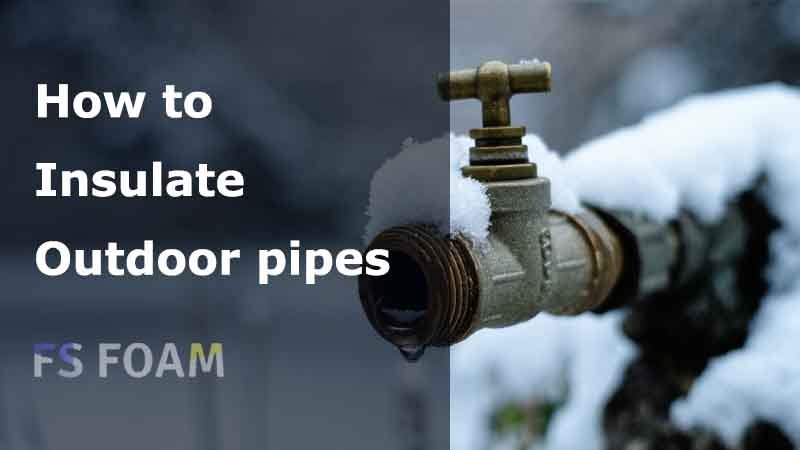
When winter arrives, it’s time to think about more than just your indoor heating—it’s time to protect your outdoor plumbing as well. We all know how freezing temperatures can wreak havoc on our homes, but many homeowners overlook the importance of insulating outdoor pipes. It’s easy to assume that outdoor plumbing won’t be as vulnerable as interior pipes, but the truth is, when winter strikes, exposed pipes are at a higher risk of freezing and bursting, leading to costly repairs and water damage. In this article, we will walk you through the importance of insulating your outdoor pipes and show you how to do it effectively to safeguard your home.
Why do Insulating Outdoor Pipes Matter?
We don’t often give much thought to our outdoor plumbing until something goes wrong, and when that “something” involves frozen pipes, the consequences can be severe. Imagine waking up to a burst water pipe in the dead of winter—what a nightmare! Freezing outdoor pipes can result in significant damage, including ruptures, leaks, and even flooding, which could lead to costly water damage repairs.
Insulating your outdoor pipes is one of the easiest and most cost-effective steps you can take to prevent this scenario. By wrapping your pipes in the right insulation material, you can ensure that water continues to flow freely, no matter how low the temperature drops. So, let’s explore why outdoor pipe insulation is so essential and how to do it right.
What Will Happen if Your Pipe Is Not Insulated?
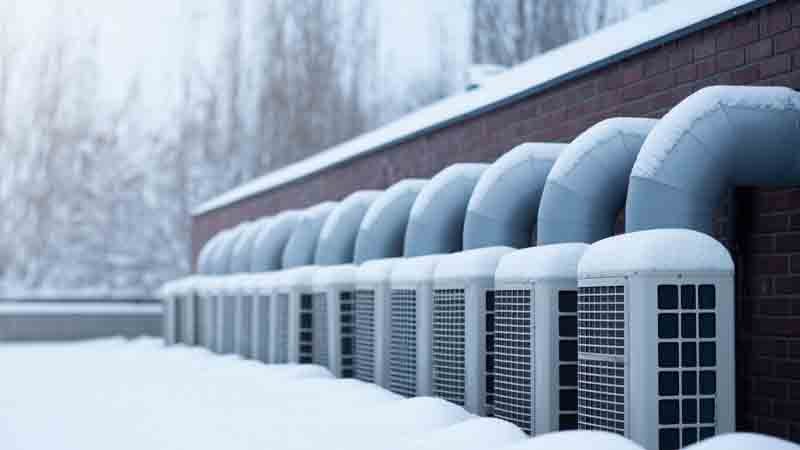
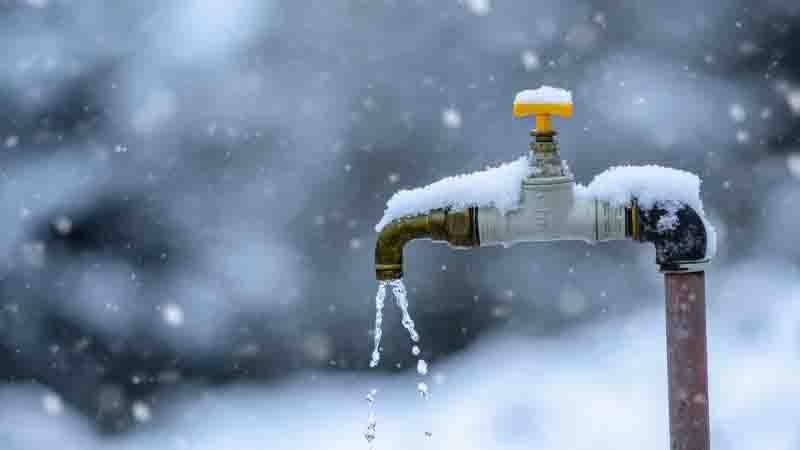
If your outdoor pipes are left uninsulated during winter, they’re vulnerable to freezing. And when the water inside those pipes freezes, it expands, putting tremendous pressure on the pipe walls. Over time, this pressure can cause the pipes to crack or even burst. Burst pipes are not just a plumbing problem; they can lead to major water damage in your home, destroying flooring, walls, and even your foundation.
When the water in the pipes expands, it may also force the fittings and joints apart, causing leaks. These leaks can go undetected for days or even weeks, allowing water to seep into your walls or crawlspaces and cause mold and mildew growth. The longer the damage goes unnoticed, the more expensive it becomes to repair. The risk of frozen pipes should not be underestimated, and it’s why insulating your outdoor pipes should be a top priority before the first frost.
How Do You Prevent Outdoor Pipes from Freezing?
We’ve established that outdoor pipes are vulnerable to freezing, but how do we prevent that from happening? Fortunately, there are several effective methods to protect your pipes from freezing:
Insulation
By wrapping your pipes in the right insulation material, you create a barrier that helps maintain a consistent temperature around the pipe, preventing it from dipping below freezing.
Drainage
If your outdoor pipes are connected to hoses or sprinkler systems, make sure to drain them thoroughly before winter. Water trapped in hoses or sprinklers can freeze and expand, causing pipes to burst.
Frost-Free Faucets
Installing frost-free faucets is a smart move, especially for those living in regions with severe winters. These faucets feature a valve that shuts off water inside the house, preventing water from staying in the exposed part of the faucet where it can freeze.
Sealing Gaps
Outdoor pipes that run through walls, attics, or crawl spaces should be sealed off from the cold. Use caulk or foam to fill any gaps or cracks around the pipes where cold air can enter.
Shut Off the Water Supply
For outdoor faucets, consider shutting off the water supply completely. This will prevent water from freezing inside the pipes leading to the faucet.
How to Choose the Pipe Insulation Material for Your Outdoor Pipe?
Choosing the right insulation material is key to ensuring your pipes remain protected throughout the winter. Here are a few options to consider:
Foam Pipe Insulation
One of the most common choices for insulating pipes, foam insulation is affordable and easy to install. XPE foam is a great insulation material for outdoor pipes, its cross linked closed cell structure offering excellent thermal resistance, helping to keep the water in the pipes from freezing. It is ideal for pipes that are exposed to outdoor conditions but don’t require electrical heating.
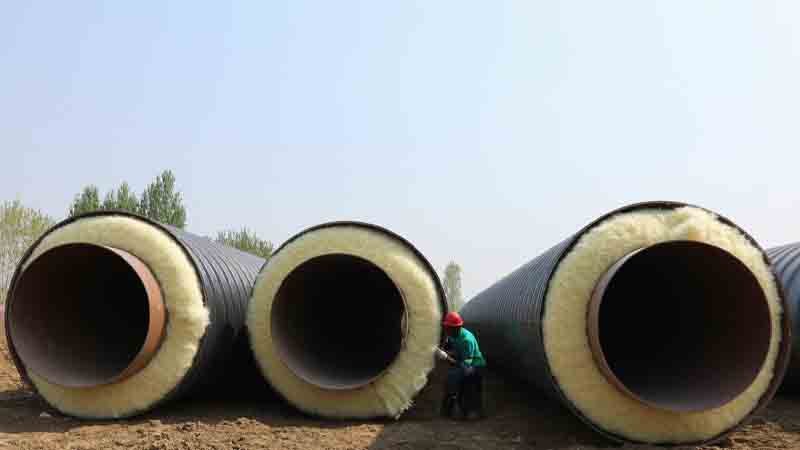
Fiberglass Pipe Insulation
Fiberglass insulation is another popular option. It’s highly effective in colder climates because of its ability to provide superior heat retention. Fiberglass is a bit more expensive than foam, but it offers long-lasting protection against freezing temperatures.
Heat Tape or Cables
For pipes in especially cold regions, heat tape or cables might be the best option. These electric heating devices wrap around your pipes and provide continuous warmth to prevent freezing. While heat tape can be more costly and requires an electrical outlet, it’s a good choice for areas where temperatures regularly dip well below freezing.
Each insulation material has its pros and cons, but the key is to choose the one that works best for your climate and the specific needs of your outdoor pipes. Here’s a detailed comparison of them:
| Feature | Foam Pipe Insulation (XPE Foam) | Fiberglass Pipe Insulation | Heat Tape or Cables |
|---|---|---|---|
| Material Type | Cross-linked closed-cell foam | Fiberglass with a vapor barrier | Electric heating cables |
| Cost | Affordable | More expensive than foam | High initial cost, ongoing energy use |
| Ease of Installation | Easy to install, DIY-friendly | Requires professional installation | Requires electrical outlets, professional help |
| Thermal Insulation | Excellent thermal resistance | Superior heat retention, ideal for cold climates | Provides continuous warmth, but consumes energy |
| Durability | Durable, resistant to UV and moisture | Long-lasting, but can be prone to wear if exposed to moisture | Durable if properly installed, requires maintenance |
| Ideal Climate | Mild to moderate cold climates | Extreme cold climates | Extremely cold areas with regular freezing temperatures |
| Maintenance | Low maintenance, requires occasional inspection | Low maintenance, but can deteriorate if exposed to moisture | Requires regular checks to ensure proper functioning |
| Energy Source | No energy source required | No energy source required | Requires electrical outlet for operation |
| Protection Level | Good protection against freezing | Excellent for extreme cold conditions | Best for pipes in freezing conditions |
How to Wrap Your Pipe with Insulation Material?
Now that we know what materials are available, it’s time to get to work. Insulating your outdoor pipes is relatively simple, but there are a few steps to follow to ensure that it’s done properly:
- Prepare the Pipe: Before you begin, inspect the pipe for any leaks. If you find any, repair them before proceeding. Clean the pipe of any dirt or debris so that the insulation material can adhere properly.
- Choose the Right Insulation: Make sure you select the correct size and type of insulation. For foam insulation, cut the foam tubes to fit the length of the pipe. If you’re using fiberglass, you’ll need to wrap it around the pipe to create a snug fit.
- Wrap the Insulation: Begin wrapping or installing the insulation from one end of the pipe. Make sure the insulation is tightly fitted and covers the entire length of the exposed pipe. For foam insulation, ensure that the split side is facing outward, allowing the insulation to close tightly around the pipe.
- Secure the Insulation: Use tape, zip ties, or pipe straps to secure the insulation in place. Make sure the insulation stays in position and doesn’t shift over time.
- Check for Gaps: Once the insulation is wrapped and secured, double-check for any gaps or exposed areas. Even tiny openings can let in cold air, leading to freezing.
What Mistakes You Should Avoid When Insulating Your Pipe?
While insulating outdoor pipes is straightforward, there are a few common mistakes that homeowners make. Let’s go over what to avoid:
- Using the Wrong Insulation: Not all insulation materials are suitable for outdoor use. Make sure you choose a material that’s designed to withstand the elements and provide effective protection.
- Inadequate Coverage: Don’t skimp on insulation. Ensure that every exposed inch of the pipe is covered and protected. Gaps in the insulation can compromise the effectiveness of your protection.
- Improper Securing: If the insulation isn’t secured tightly enough, it may shift over time, leaving areas exposed. Always make sure the insulation is snug and securely fastened.
- Over-Insulating: Some people go overboard by using too much insulation, which can create condensation problems. Ensure you don’t overwrap pipes, as excess moisture can lead to mold or mildew.
- Ignoring Drainage: Even if you insulate your outdoor faucet, neglecting to drain any water in the pipes or hoses can still result in freezing and damage. Drainage is key to keeping your pipes safe.
Conclusion
Insulating your outdoor pipes is one of the easiest and most cost-effective ways to prevent the damage caused by freezing temperatures. By choosing the right insulation material and following proper installation techniques, you can protect your plumbing system and avoid costly repairs. Take the time now to prepare your pipes before the cold weather sets in—it’s a simple task that can save you big in the long run. Don’t wait for winter’s chill to catch you off guard; get your pipes insulated today.
FAQs
What is the best material for outdoor pipe insulation?
Foam, fiberglass, and rubber are popular materials for outdoor pipes. Foam provides excellent insulation and is easy to install, while fiberglass is great for colder climates. Rubber is durable and offers flexibility in temperature changes. The best material depends on your climate’s temperature extremes.
How can I tell if my outdoor pipes are already frozen?
Signs of frozen pipes include no water flow from faucets, frost on visible sections, or a bulging pipe. Listen for unusual sounds, like water hissing when trying to turn on faucets. If you suspect freezing, check exposed sections for ice buildup or visibly frozen spots.
Can I use regular household insulation for outdoor pipes?
Regular household insulation might not withstand extreme outdoor conditions. It’s often not designed to protect against freezing temperatures, water, or UV exposure. Specialized outdoor pipe insulation materials are made to resist the elements, providing better protection and ensuring the pipes remain functional in extreme weather.
Is it necessary to insulate both exposed and underground pipes?
Yes, both types require insulation, but exposed pipes are at higher risk of freezing. Underground pipes usually benefit from the ground’s natural insulation, but in areas with severe winters, they still require protection. Exposed pipes, however, are more vulnerable and need immediate, effective insulation.
How often should I check the insulation on my outdoor pipes?
Check outdoor pipe insulation annually, especially before winter. Inspect for wear, damage, or moisture accumulation. Extreme weather can degrade materials, so regular checks ensure the insulation remains effective. Inspect more frequently if you experience severe cold or notice issues like frost or slow water flow.