

Introduction
When we install a new floor, the first thing that comes to mind is often the beauty, texture, and durability of the flooring material itself. But there’s another critical component we shouldn’t overlook: flooring underlayment. Though this thin layer might seem insignificant, it plays a pivotal role in determining the longevity and performance of your floor.
Flooring underlayment serves as the unsung hero that shields your floor from various environmental factors. When installed properly, it ensures that your floor remains stable, durable, and functional for years. In this article, we will walk you through the importance of underlayment, how to install it step-by-step, and the common mistakes to avoid. With these insights, you can transform your floor into a long-lasting feature of your home or office.
What is Flooring Underlayment?
Flooring underlayment, in essence, is the layer of material placed directly beneath your floor covering. It might seem like just another part of the floor system, but its importance cannot be overstated. This material serves multiple functions depending on its type and the needs of the floor it’s supporting.
Types of Flooring Underlayment
Underlayment comes in various materials, each designed for specific needs:
- Foam Underlayment: Often used with laminate and engineered wood flooring, foam underlayment is lightweight and easy to install. It provides sound insulation and offers slight moisture protection. IXPE foam is one of the most great foam underlayments for flooring.
- Cork Underlayment: A natural, eco-friendly option, cork underlayment excels in sound absorption and offers thermal insulation.
- Rubber Underlayment: Known for its durability and shock-absorbing qualities, rubber is perfect for areas with heavy foot traffic or spaces that require extra noise control.
- Felt Underlayment: Made from recycled fibers, felt is a great option for adding comfort and improving soundproofing.
Each type of underlayment provides essential functions, such as cushioning, noise reduction, and moisture control, depending on the requirements of the space.
The Role of Underlayment in Floor Installations
Think of underlayment as the bed on which your floor rests. It ensures that the floorboards have a stable, smooth surface to lie upon, reducing the risk of wear and tear over time. More than just a foundation, underlayment absorbs sound, regulates temperature, and provides a protective barrier against moisture that could otherwise damage the floor.
What Are the Benefits of Flooring Underlayment?
When properly installed, underlayment offers a host of benefits that enhance the overall performance and lifespan of your floor. These advantages often go unnoticed but are integral to creating a long-lasting, high-performing floor system.
Sound Insulation
Underlayment is crucial for sound reduction, especially in multi-story buildings or apartments where noise transfer is a concern. The right underlayment absorbs sound, preventing it from traveling through the floor and disturbing those below. It can also reduce footstep noise, making your home quieter and more comfortable.
Thermal Insulation
Underlayment provides an extra layer of thermal insulation. It can help regulate the floor temperature, keeping your home warmer in the winter and cooler in the summer. This insulation also contributes to energy efficiency, as it helps to maintain the room’s overall temperature, reducing the load on your HVAC system.
Moisture Protection
Perhaps one of the most crucial benefits is moisture control. If you’re installing flooring in a room where moisture is an issue, like a basement or bathroom, underlayment acts as a barrier. Moisture from concrete subfloors can seep into your wood or laminate flooring and cause irreversible damage. Underlayment with a moisture barrier can protect your floors from this potential threat.
Smooth Surface
Even the most luxurious flooring materials can appear flawed if the subfloor isn’t perfectly smooth. Underlayment helps create an even surface for your floorboards to rest on, hiding minor imperfections in the subfloor and giving the final floor a pristine look.
Increased Durability
A well-chosen and correctly installed underlayment extends the life of your flooring. By absorbing shock, preventing moisture damage, and reducing wear and tear, underlayment ensures that your floor remains in top condition for years to come.
How to Install Flooring Underlayment?
Installing flooring underlayment is a straightforward process, but it requires precision to ensure that your flooring lasts as long as possible. Here’s a step-by-step guide on how to install it:
Step 1: Remove the Existing Floor
Before we even think about the underlayment, the old floor must go. Start by removing any existing flooring, whether it’s carpet, vinyl, laminate, or another material. If you’re working with tile, linoleum, or hardwood, you can leave them in place as long as they are smooth, level, and in good condition. Any large gaps, cracks, or uneven spots should be fixed first.
Step 2: Clean the Subfloor
This is an easy step to overlook, but cleanliness is essential. Sweep or vacuum the subfloor to remove dust, dirt, or debris. A clean surface ensures that the underlayment will sit perfectly and adhere well to the subfloor, preventing any bumps or unevenness from forming beneath your flooring.
Step 3: Inspect the Subfloor
Next, we need to inspect the subfloor. It must be flat, dry, and structurally sound. Walk across the area and listen for any creaks or give. If you notice any damaged or uneven sections, it’s essential to repair them before proceeding. Use a level to check for any dips or bumps and fill in gaps or cracks as needed.
Step 4: Fix the Subfloor
If your subfloor is uneven or damaged, now’s the time to address it. Nail down any loose nails, sand down high spots, and fill in low areas. For wood subfloors, make sure there is no excessive moisture. Concrete subfloors should also be checked for moisture issues.
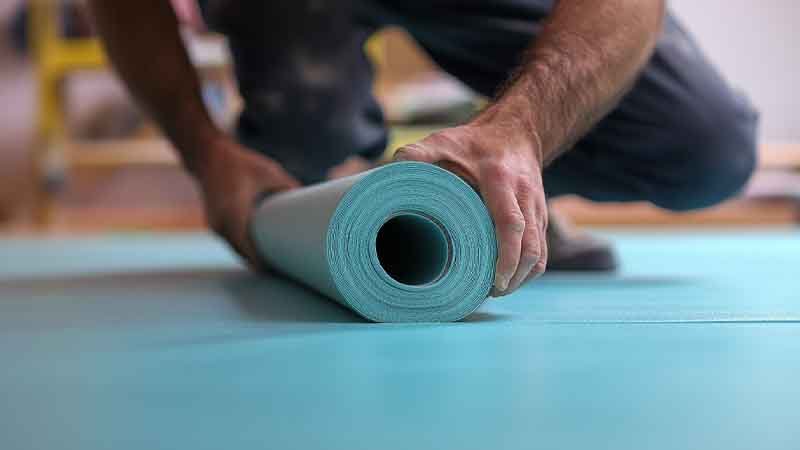
Step 5: Start Unrolling the Underlayment
Once the subfloor is clean and ready, we can begin unrolling the underlayment. Start by unrolling just one row at a time to keep things organized. Trying to unroll too much at once can make the process more cumbersome and prone to errors.
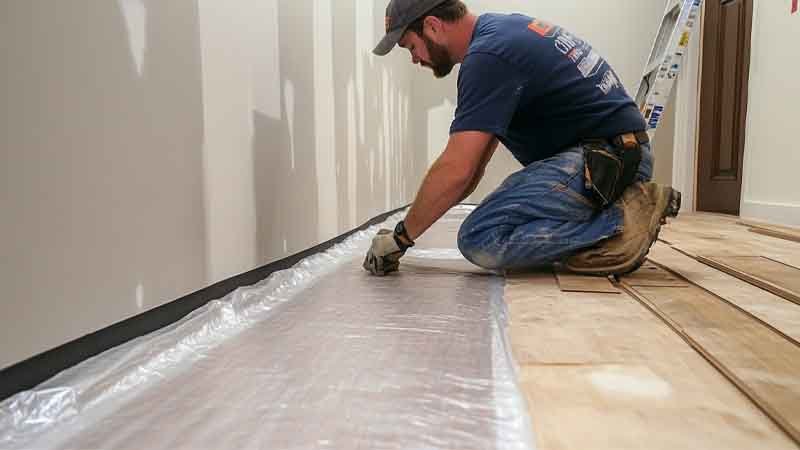
Step 6: Work Left to Right
It’s always best to work from left to right when laying down the underlayment. Position it so that it’s butted up against the wall, leaving no gaps. This orientation ensures that the seams between the underlayment and the flooring will align properly and that the underlayment does not shift as you work.
Step 7: Tape the Rows
Secure each row of underlayment with sticky tape. This step is crucial to keep everything in place as you continue laying the flooring. Without tape, the underlayment may shift, causing misalignment and gaps.
Step 8: Don’t Overlap
When laying the underlayment, avoid overlapping the edges of the foam. Instead, butt them up together, creating a seamless layer. Overlapping can lead to uneven surfaces and interfere with the flooring installation.
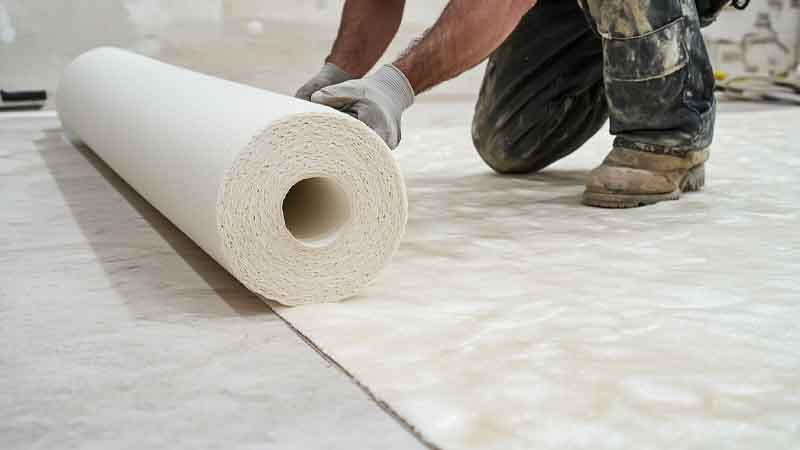
Step 9: Work in Sections
Don’t try to unroll an entire roll at once. Work in manageable sections, installing the underlayment as you go. This will allow you to stay on track and maintain a steady flow throughout the installation process.
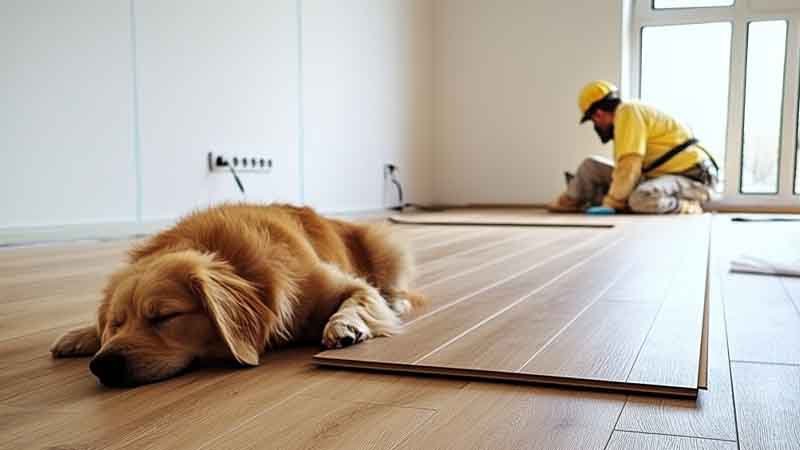
Step 10: Install Flooring on Top
Once the underlayment is securely in place, you can start laying your flooring. Begin in one corner of the room and work your way across, ensuring the seams between flooring planks don’t line up from one row to the next. This staggering prevents the joints from separating over time.
Step 11: Finish the Installation
Continue installing flooring plank by plank. As you near the edge of your underlayment, roll out another section and repeat the process. This step will help you achieve a smooth, continuous installation.
What Mistakes Should You Avoid When Installing Flooring Underlayment?

Even the most seasoned DIYers can make mistakes when it comes to underlayment. To help you avoid common pitfalls, here are a few crucial things to watch out for:
Not Preparing the Subfloor Properly
Neglecting to clean, level, and repair the subfloor before installing the underlayment can lead to uneven surfaces and reduced floor stability. Always inspect the subfloor and address any imperfections.
Incorrect Underlayment Selection
Choosing the wrong type of underlayment can lead to poor results. Make sure the underlayment you choose is suitable for the type of flooring and subfloor you’re working with.
Overlapping the Underlayment
Overlapping edges can create uneven surfaces, resulting in bumps or gaps in your flooring. Always butt the edges of the underlayment together and tape them securely.
Not Using Enough Underlayment
Underlayment should cover the entire subfloor area. Insufficient underlayment can lead to poor insulation, reduced moisture protection, and an overall subpar installation.
Improper Installation of Flooring
Improperly securing the flooring or leaving gaps between the planks can lead to a messy, unstable floor. Make sure to install the flooring with precision to avoid these issues.
Skipping Moisture Barriers
In spaces with concrete subfloors, skipping a moisture barrier can lead to significant floor damage over time. Always use a vapor barrier when installing flooring over concrete to protect your floor from moisture damage.
Conclusion
In conclusion, installing flooring underlayment is an essential step in ensuring the longevity and durability of your floor. By choosing the right underlayment and following
the correct installation process, we can create a floor that will stand the test of time. With proper preparation, installation, and attention to detail, you’ll have a smooth, quiet, and long-lasting floor to enjoy for years to come.
FAQs
What is the best type of underlayment for laminate floors?
For laminate floors, foam underlayment is often the best choice. It provides sound reduction, moisture protection, and cushioning. Some foam types even include a built-in vapor barrier, which is crucial for preventing moisture damage in high-humidity areas.
Can I use underlayment on concrete floors?
Yes, underlayment can be used on concrete floors. It’s essential to choose one with a moisture barrier, especially for spaces like basements, as concrete can release moisture that could damage your flooring. The right underlayment protects against moisture while improving sound insulation and floor stability.
How thick should my underlayment be for maximum protection?
The ideal underlayment thickness ranges from 3mm to 6mm for most floors. Thicker underlayment provides more soundproofing, cushioning, and moisture control. For areas with high moisture or noise concerns, a thicker option may be needed to ensure maximum protection and floor stability.
Can underlayment help with floor temperature control?
Yes, underlayment offers thermal insulation, helping regulate floor temperatures. In colder climates, it can keep floors warmer by reducing heat loss. Similarly, it can also help maintain cooler floors in the summer. This contributes to better energy efficiency and comfort year-round.
How do I know if I’ve installed the underlayment correctly?
To ensure correct installation, check that the underlayment is flat, smooth, and properly secured with tape. There should be no wrinkles or gaps, and it should cover the entire subfloor evenly. Proper installation is key to maximizing the benefits of soundproofing, moisture control, and comfort.