
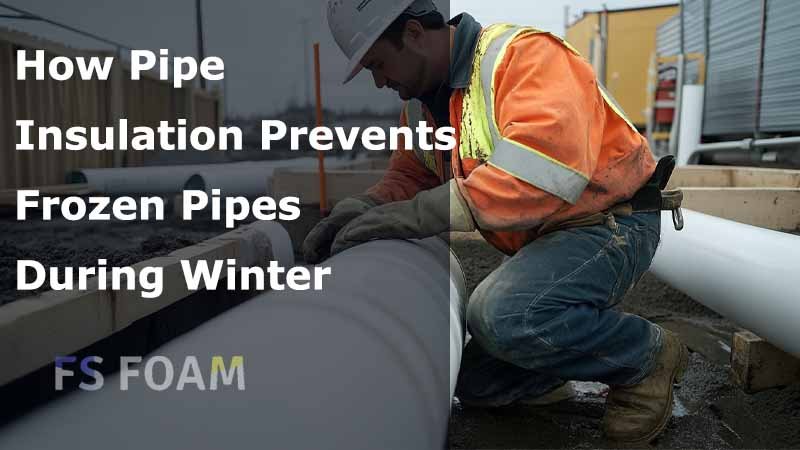
Winter is a season of wonder, but it can also bring its fair share of headaches—especially when it comes to the pipes running through our homes. Frozen pipes are more than just an inconvenience. They’re a risk. A costly risk. As temperatures drop, the threat of pipes freezing becomes a reality that many homeowners face. But fear not! There’s a simple, effective solution that can protect your pipes—and your wallet: pipe insulation. In this article, we’ll dive into how pipe insulation works, why it’s a necessity during the cold months, and how you can use it to avoid the headaches of frozen pipes.
Why Pipes Freeze in Winter
First things first, let’s explore why pipes freeze in the first place. It seems like an obvious issue when temperatures drop below freezing, but the science behind it is worth understanding. When the weather dives into subzero territory, water inside uninsulated pipes starts to cool down. As the temperature plummets, so does the water’s temperature, eventually reaching the freezing point. This change is where things get tricky.
Temperature Drops: The Catalyst for Freezing
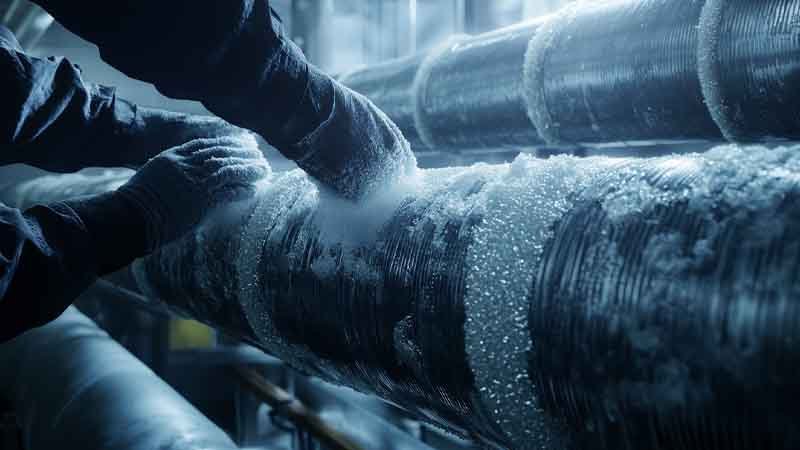
Water, as we know, expands when it freezes. This expansion places immense pressure on the walls of pipes, especially those made of metal or plastic. Pipes exposed to the cold—whether in attics, basements, crawlspaces, or outside—are the most vulnerable. These pipes don’t have the luxury of being insulated by the warmth of the house. They’re exposed, at the mercy of the weather, and susceptible to freezing when the temperature dips below 0°C.
Vulnerable Areas: Where Freezing Happens Most
Certain spots in a home are more prone to frozen pipes than others. Think about attics, crawl spaces, or exterior walls—areas that may not have the constant heat circulation provided by central heating systems. These pipes are most vulnerable to freezing. The problem becomes even worse when pipes are located in areas where drafts are common, such as unsealed windows, doors, and gaps in the foundation.
The Consequences of Frozen Pipes
The damage caused by frozen pipes can be devastating. When the water inside expands, it can cause pipes to crack, split, or even burst. Imagine this: pipes bursting in the middle of winter, leading to flooding and water damage to walls, floors, and ceilings. The cost of repairs can range from a few hundred to thousands of dollars, depending on the extent of the damage. Not to mention, the inconvenience of living with water issues during the coldest time of the year.
The Role of Pipe Insulation
Now, let’s look at the story’s hero: pipe insulation. Insulation is more than just a safeguard against the cold. It’s a proactive measure to ensure your pipes stay healthy, even when winter’s chill sets in.
Insulation Materials: The Varied Choices
When it comes to insulating pipes, there’s a range of materials you can choose from. Foam, fiberglass, and rubber are among the most common options. Foam insulation, for instance, offers excellent thermal resistance and is easy to apply. Fiberglass, often used for high-heat environments, also works well for pipes that need extra protection. Rubber insulation, on the other hand, provides flexibility and is great for more challenging areas to cover.
Thermal Resistance: How Insulation Keeps Pipes Warm
The main function of pipe insulation is its ability to retain heat. Insulation materials work by creating a barrier between the pipe and the surrounding environment. This barrier slows down the rate at which heat escapes, allowing the water inside the pipe to stay warmer for longer. The thicker the insulation, the more effectively it retains heat. Think of it as wrapping your pipes in a warm, cozy blanket—one that shields them from the biting cold.
Prevention of Heat Loss: Keeping the Temperature Stable
Insulation doesn’t just slow down heat loss; it also helps maintain a more consistent temperature around the pipes. This means fewer fluctuations in temperature, preventing the cycle of heating and cooling that can lead to the expansion and contraction of pipes. Essentially, insulation stabilizes the temperature, ensuring that pipes stay above freezing even in the coldest months.
How Insulation Works to Prevent Freezing
Let’s dive deeper into the specifics of how insulation prevents pipes from freezing. It’s not magic; it’s science.
Slower Temperature Change
Insulation helps slow down the rate at which the temperature around the pipes changes. This gives the pipes more time to adapt to the fluctuations in temperature without dropping below freezing. The gradual temperature change reduces the risk of sudden freezes, which can wreak havoc on unprotected pipes.
Barrier to Extreme Cold
A solid layer of insulation acts as a powerful barrier against extreme cold. Without this layer, pipes are exposed directly to the outside temperature. With insulation, the cold is kept at bay. The thicker the insulation, the better it resists the chill. Essentially, it’s a defense mechanism against the freezing winds and freezing temperatures of winter.
Maintaining a Stable Environment
By maintaining a more stable environment around the pipes, insulation ensures that the temperature of the water inside remains at a level where it won’t freeze. For instance, while the air in an attic might drop to well below freezing, the temperature of the pipes themselves can be kept above the freezing mark, all thanks to the insulation.
Other Benefits of Pipe Insulation
While preventing frozen pipes is the most obvious benefit of pipe insulation, it’s not the only advantage. Insulation offers a range of benefits that can improve both your home’s efficiency and comfort.
Energy Efficiency: Saving Money and Energy
One of the biggest benefits of insulating pipes is their ability to conserve heat. By preventing heat loss, insulated pipes help to reduce the overall energy demand of your heating system. This means you won’t have to crank the thermostat as high to maintain a comfortable temperature in your home, ultimately saving you money on heating costs.
Prevention of Condensation
Insulation can also help prevent condensation, which can lead to water damage. When warm air meets cold pipes, moisture can form on the surface. Over time, this can lead to rust, corrosion, and even mold. By insulating pipes, you reduce the potential for condensation and avoid these issues.
Noise Reduction
Another often overlooked benefit is the noise reduction that comes with insulated pipes. If you’ve ever heard the sound of water rushing through pipes, you know that it can be loud and disruptive. Insulation can help muffle these noises, creating a quieter, more peaceful home environment.
Best Practices for Installing Pipe Insulation
Now that we understand how insulation works and why it’s important, let’s talk about how to install it properly.
Choosing the Right Material
The first step in insulating your pipes is choosing the right material. Foam is a great choice for most homes, especially because it’s easy to install and highly effective. Fiberglass works well in areas where temperatures dip drastically, while rubber insulation offers durability and flexibility. Consider your pipe material (copper, PVC, etc.) and the areas you’re insulating when choosing your material.
Installation Tips
When installing pipe insulation, ensure that the pipes are dry before applying any material. Wet pipes can lead to mold or mildew growth. You’ll want to cover every inch of exposed pipe, especially those in unheated areas like attics, basements, and crawl spaces. It’s important to leave no gaps—every exposed section increases the risk of freezing.
DIY vs. Professional Installation
Installing pipe insulation is a task many homeowners can tackle themselves. However, if you’re unsure about how to insulate hard-to-reach areas, it might be worth considering professional installation. A professional will ensure that every pipe is properly insulated and that the job is done safely and effectively.
Additional Tips to Protect Pipes in Winter
In addition to insulation, there are other strategies you can use to protect your pipes during winter.
Seal Cracks and Gaps
Sealing cracks in walls, windows, and doors can significantly reduce the chances of frozen pipes. Even small drafts can lower the temperature around your pipes, making them more susceptible to freezing. Properly sealing your home is a key step in preventing freezing.
Keep Faucets Dripping
If you’re expecting extremely cold temperatures, leave a faucet dripping slightly. This keeps the water moving through the pipes, making it less likely for the pipes to freeze.
Add Heat Tape
For added protection, heat tape can be applied to pipes in particularly vulnerable areas. This electrical tape generates heat, ensuring that the temperature around the pipe stays above freezing.
Conclusion
Pipe insulation is an essential tool in the battle against frozen pipes. By providing a barrier to the cold, retaining heat, and ensuring a stable environment for your pipes, insulation helps protect your home from the dangers of freezing pipes. From reducing energy costs to preventing water damage, the benefits are clear. Don’t wait for the cold to strike—prepare ahead of time by insulating your pipes.
If you need help selecting the right pipe insulation for your home, contact us at FS Foam. Our experts can guide you through the process and ensure your pipes stay safe and sound all winter long.
FAQs
1. Why is pipe insulation necessary during winter?
Pipe insulation is essential during winter because it helps protect pipes from freezing. Insulated pipes retain heat, preventing the water inside from reaching freezing temperatures. This reduces the risk of burst pipes, which can cause extensive water damage and costly repairs in your home.
2. What materials are used for pipe insulation?
Common materials for pipe insulation include foam, fiberglass, and rubber. Foam is lightweight and effective, providing excellent thermal resistance. Fiberglass is used for extreme temperatures and durability, while rubber offers flexibility, making it ideal for hard-to-reach areas. Each material has its specific benefits based on needs.
3. How do I know if my pipes are properly insulated?
To check if your pipes are adequately insulated, inspect exposed areas in attics, basements, and crawlspaces. Ensure the insulation covers the entire length of each pipe without gaps. If your pipes are cold to the touch during winter, they may need additional insulation to protect them.
4. Can I install pipe insulation myself?
Yes, installing pipe insulation is a DIY-friendly task. Simply choose the appropriate material, cut it to size, and fit it around the pipes. Ensure the pipes are dry before installing. However, if the pipes are in hard-to-reach areas or you’re unsure, professional installation might be a good option.
5. What are the additional benefits of pipe insulation?
Beyond preventing freezing, pipe insulation improves energy efficiency by reducing heat loss, and helping lower heating bills. It also prevents condensation buildup, which can lead to rust and mold. Furthermore, it reduces noise from water flowing through the pipes, creating a quieter, more comfortable home environment.