

Introduction
When we think about energy efficiency in our homes, we often consider appliances, wall insulation, or upgrading windows.
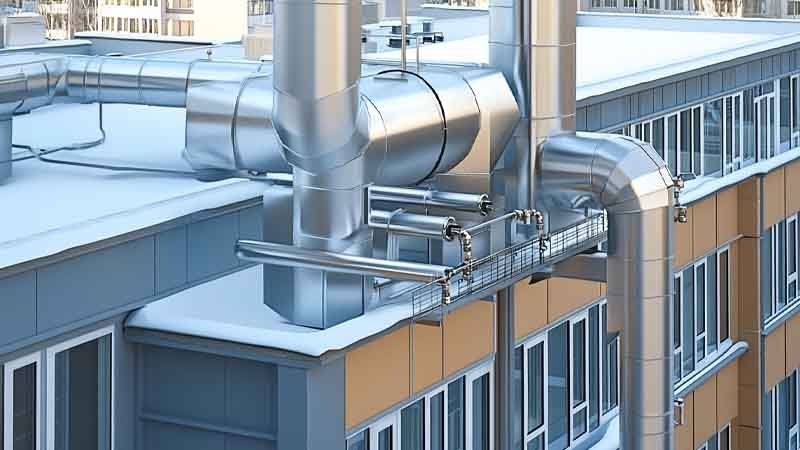
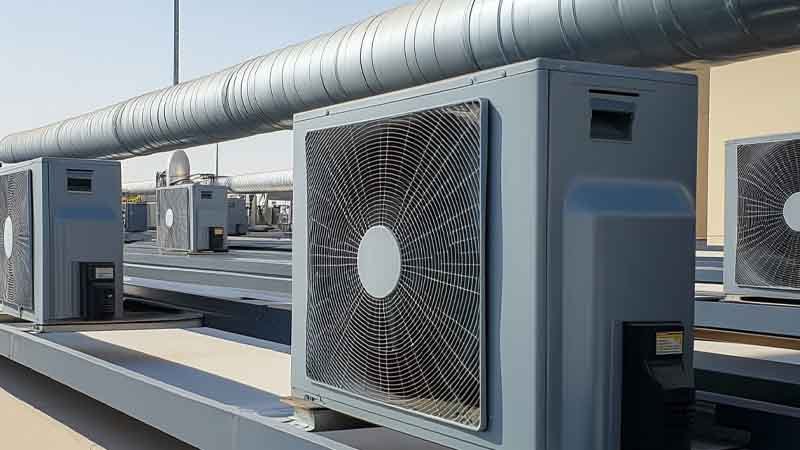
But what about the pipes that carry hot water to our showers or the chilled water to our air conditioners?
Pipe insulation, often overlooked, plays a pivotal role in making our homes more comfortable, energy-efficient, and long-lasting.
Insulating pipes isn’t just a matter of comfort; it’s a way to reduce energy waste, prevent costly damage, and ensure the longevity of your plumbing system.
Whether you’re trying to save on heating bills, avoid the nightmare of frozen pipes in the winter, or simply make your home more efficient, insulating your pipes is an easy and effective solution.
In this guide, we’ll walk you through the steps to insulate your pipes yourself, offering expert advice on materials, installation, and common mistakes to avoid.
Why Do You Need Pipe Insulation?
Energy Efficiency
Picture this: you’re waiting for the hot water to heat up after turning on the faucet. It takes a few minutes to feel the warmth. That’s wasted water and energy. Insulating your hot water pipes reduces heat loss, keeping the water hotter for longer. By maintaining the temperature of your water as it travels through the pipes, you don’t need to turn up your water heater, ultimately saving on energy bills. The same principle applies to cold water pipes, where insulation helps keep water cold, especially in hot weather.
Prevents Freezing
Perhaps the most obvious benefit of pipe insulation is its ability to prevent pipes from freezing during winter months. Frozen pipes can burst, leading to serious water damage and costly repairs. Insulation acts as a thermal barrier, keeping your pipes’ temperature above freezing. Insulation can be a lifesaver for pipes running along exterior walls.
Condensation Control
Another less obvious but equally important benefit is condensation control. When warm air contacts cold water pipes, condensation can form. Over time, this moisture buildup can lead to mold, mildew, and corrosion, weakening your plumbing system. Proper pipe insulation prevents this issue, keeping moisture where it should be—inside the pipe.
Extended Pipe Lifespan
Insulated pipes are less prone to stress and damage, thanks to the protective layer. Without insulation, extreme temperatures can cause pipes to expand and contract, leading to cracks, leaks, and corrosion. By insulating your pipes, you’re effectively adding years to their lifespan and reducing the need for costly repairs or replacements.
What Materials Are Used in Pipe Insulation?

The type of material you choose for insulating your pipes depends on several factors, including the location of the pipes, the temperatures they’ll be exposed to, and the level of durability you require. Let’s explore some of the most commonly used materials:
Foam Insulation
Foam insulation is a highly favored option among homeowners. It’s typically made from polyethylene or polyurethane and is great for both hot and cold water pipes. XLPE Foam pipe insulation, which is made from closs cell polyethylene foam. It is easy to install, lightweight, and offers excellent thermal resistance. Its pre-slit design makes it a breeze to slide over pipes, making it ideal for DIY installation.
Fiberglass Insulation
Fiberglass insulation is perfect for high-temperature pipes, such as those connected to boilers or radiators. While it’s effective at preventing heat loss, it requires a bit more care during installation. Fiberglass insulation is usually sold in rolls and must be carefully handled, as the tiny glass fibers can irritate the skin. A good rule of thumb: always wear gloves and long sleeves when working with fiberglass.
Rubber Insulation
Rubber insulation, typically made from closed-cell rubber, is flexible, durable, and resistant to extreme temperatures. It’s an excellent choice for outdoor pipes or pipes exposed to fluctuating temperatures. Rubber insulation is also easy to install, as it’s often sold in pre-slit tubes that can be quickly slid over the pipe.
Reflective Foil Insulation
For areas with limited space, reflective foil insulation offers an efficient solution. This type of insulation reflects radiant heat away from the pipes, making it ideal for areas with minimal room for thicker insulation. It’s especially effective in situations where heat needs to be kept in, like in hot water systems.
How to Select the Right Type of Pipe Insulation?

Choosing the right insulation isn’t just about picking what’s cheapest or easiest to install. Several factors should guide your decision:
Pipe Material
The first consideration is the type of pipe you’re working with. Copper, PVC, and galvanized steel pipes each require different types of insulation. For instance, foam insulation is a good fit for most types of pipes, while rubber insulation is often preferred for pipes exposed to extreme temperatures or vibrations.
Temperature Range
Consider the temperatures your pipes will experience. Hot water pipes require insulation that can withstand high heat, while cold water pipes need materials that will prevent freezing. Fiberglass insulation is ideal for hot pipes, while foam or rubber is typically best for colder pipes.
Thickness
Insulation thickness plays a big role in its effectiveness. Thicker insulation offers better protection, but it can also take up more space. If you’re working in a tight space, thinner insulation might be necessary. However, in most cases, thicker insulation is preferred for its superior ability to reduce heat loss and prevent freezing.
Installation Environment
Some areas, like attics or crawl spaces, are harder to reach. If you’re insulating pipes in these spaces, consider how easy it will be to install the material. Pre-slit foam insulation or self-sealing insulation can be particularly helpful for DIYers, as they simplify the installation process.
How to Insulate Your Pipe System by Yourself?
Ready to tackle the project? Here’s a step-by-step guide to insulating your pipes and making your home more energy-efficient.
Step 1: Measure Your Pipes
Accurate measurements are crucial. You’ll need to know both the length and the diameter of the pipes you plan to insulate. Use a measuring tape to measure the length of each section of pipe, and be sure to note the diameter. This will help you select the appropriate size of insulation material.
Step 2: Choose Insulation
Based on your measurements, select the right type and size of insulation for your pipes. Make sure to account for factors like temperature range, pipe material, and space constraints. If you’re unsure, a local hardware store or insulation specialist can offer advice.
Step 3: Prepare the Pipes
Before installing the insulation, make sure the pipes are clean. Dust, dirt, and grease can interfere with the adhesive or cause the insulation to not adhere properly. Wipe down the pipes with a cloth to ensure they’re free from contaminants.
Step 4: Install the Insulation
Slide or wrap the insulation around the pipes, ensuring a snug fit. For foam or rubber insulation, simply slide it over the pipe, ensuring the slit is facing down. For fiberglass or reflective foil, you may need to secure the material around the pipe with duct tape or other fasteners.
Step 5: Seal the Joints
To ensure maximum efficiency, seal all joints where sections of insulation meet. Use duct tape, cable ties, or adhesive to hold the insulation in place. Make sure there are no gaps, as these could lead to heat loss or moisture buildup.
Step 6: Insulate Bends and Joints
Insulating bends and joints requires a bit of extra effort. For 90-degree bends, cut the ends of the insulation at a 45-degree angle, and fit them together around the corner. For T-shaped joints, cut a wedge out of the insulation and fit it around the pipe. Use tape or ties to secure the insulation at these critical points.
What Tools Do You Need to Prepare When Insulating Pipes?
You don’t need a ton of special equipment, but having the right tools on hand will make the job easier and more efficient. Here’s a quick list:
- Measuring Tape: To measure pipe lengths and determine the amount of insulation needed.
- Knife/Utility Blade: For cutting insulation to the correct size.
- Duct Tape or Cable Ties: To secure the insulation in place.
- Scissors: For cutting smaller sections of insulation.
- Pen/Marker: To mark measurements on insulation.
- Gloves: Especially when working with fiberglass or sharp materials.
What Mistakes Need to Be Avoided When Insulating Pipes?
While installing pipe insulation is relatively simple, there are a few common mistakes you’ll want to avoid:
Skipping Proper Measurements
Not measuring your pipes properly can lead to insulation that doesn’t fit correctly, resulting in gaps or poor coverage. Always measure twice and cut once.
Ignoring Gaps and Seams
Gaps in insulation can lead to energy loss and moisture buildup. Be sure to seal all seams and joints tightly to prevent these issues.
Using the Wrong Insulation
Choosing the wrong insulation for your pipes can lead to inefficiency or even damage. Make sure the insulation material is suitable for the temperature range and type of pipe.
Not Securing Insulation Properly
If your insulation isn’t properly secured, it could shift or loosen over time. Use duct tape, cable ties, or adhesive to keep everything in place.
Neglecting Hard-to-Reach Areas
Don’t forget about pipes that are tucked away in hard-to-reach spaces. Insulating these sections can often be more challenging but is crucial for overall efficiency.
Conclusion
Insulating your pipes is a simple, cost-effective way to improve energy efficiency, prevent damage, and extend the lifespan of your plumbing system. With just a little time and effort, you can save on energy bills, prevent expensive repairs, and enhance your home’s comfort. By following this DIY guide, we can all tackle pipe insulation projects with confidence.
FAQs
What is the best type of pipe insulation for freezing prevention?
Foam and rubber insulation are the best choices for freezing prevention. These materials provide excellent thermal resistance and flexibility, keeping pipes insulated from extreme cold. Rubber insulation is particularly effective for areas exposed to fluctuating temperatures, ensuring pipes remain safe from freezing and bursting in winter.
Can I install pipe insulation on my own, or do I need a professional?
Yes, pipe insulation is a DIY-friendly project. With basic tools like a measuring tape, utility knife, and duct tape, most homeowners can easily install insulation on accessible pipes. However, if pipes are in hard-to-reach places or require complex techniques, hiring a professional might be necessary.
How long does pipe insulation last?
The lifespan of pipe insulation depends on the material used and environmental factors. Foam insulation can last 10-20 years, while rubber and fiberglass may last longer with proper maintenance. It’s important to regularly check for wear and tear, especially in areas exposed to moisture or physical damage.
Is pipe insulation effective for both hot and cold water pipes?
Yes, pipe insulation works effectively for both hot and cold water pipes. For hot water pipes, it minimizes heat loss and keeps water hot longer. For cold water pipes, it prevents freezing and condensation. Insulation maintains water temperatures, improving energy efficiency and reducing the risk of damage from extreme temperatures.
What should I do if I notice the pipe insulation is damaged?
If you notice that your pipe insulation is damaged, inspect the area for any gaps or tears. Replace the damaged insulation or seal it temporarily with tape to maintain efficiency. It’s important to repair or replace it promptly to avoid energy loss, freezing, or mold buildup caused by moisture exposure.